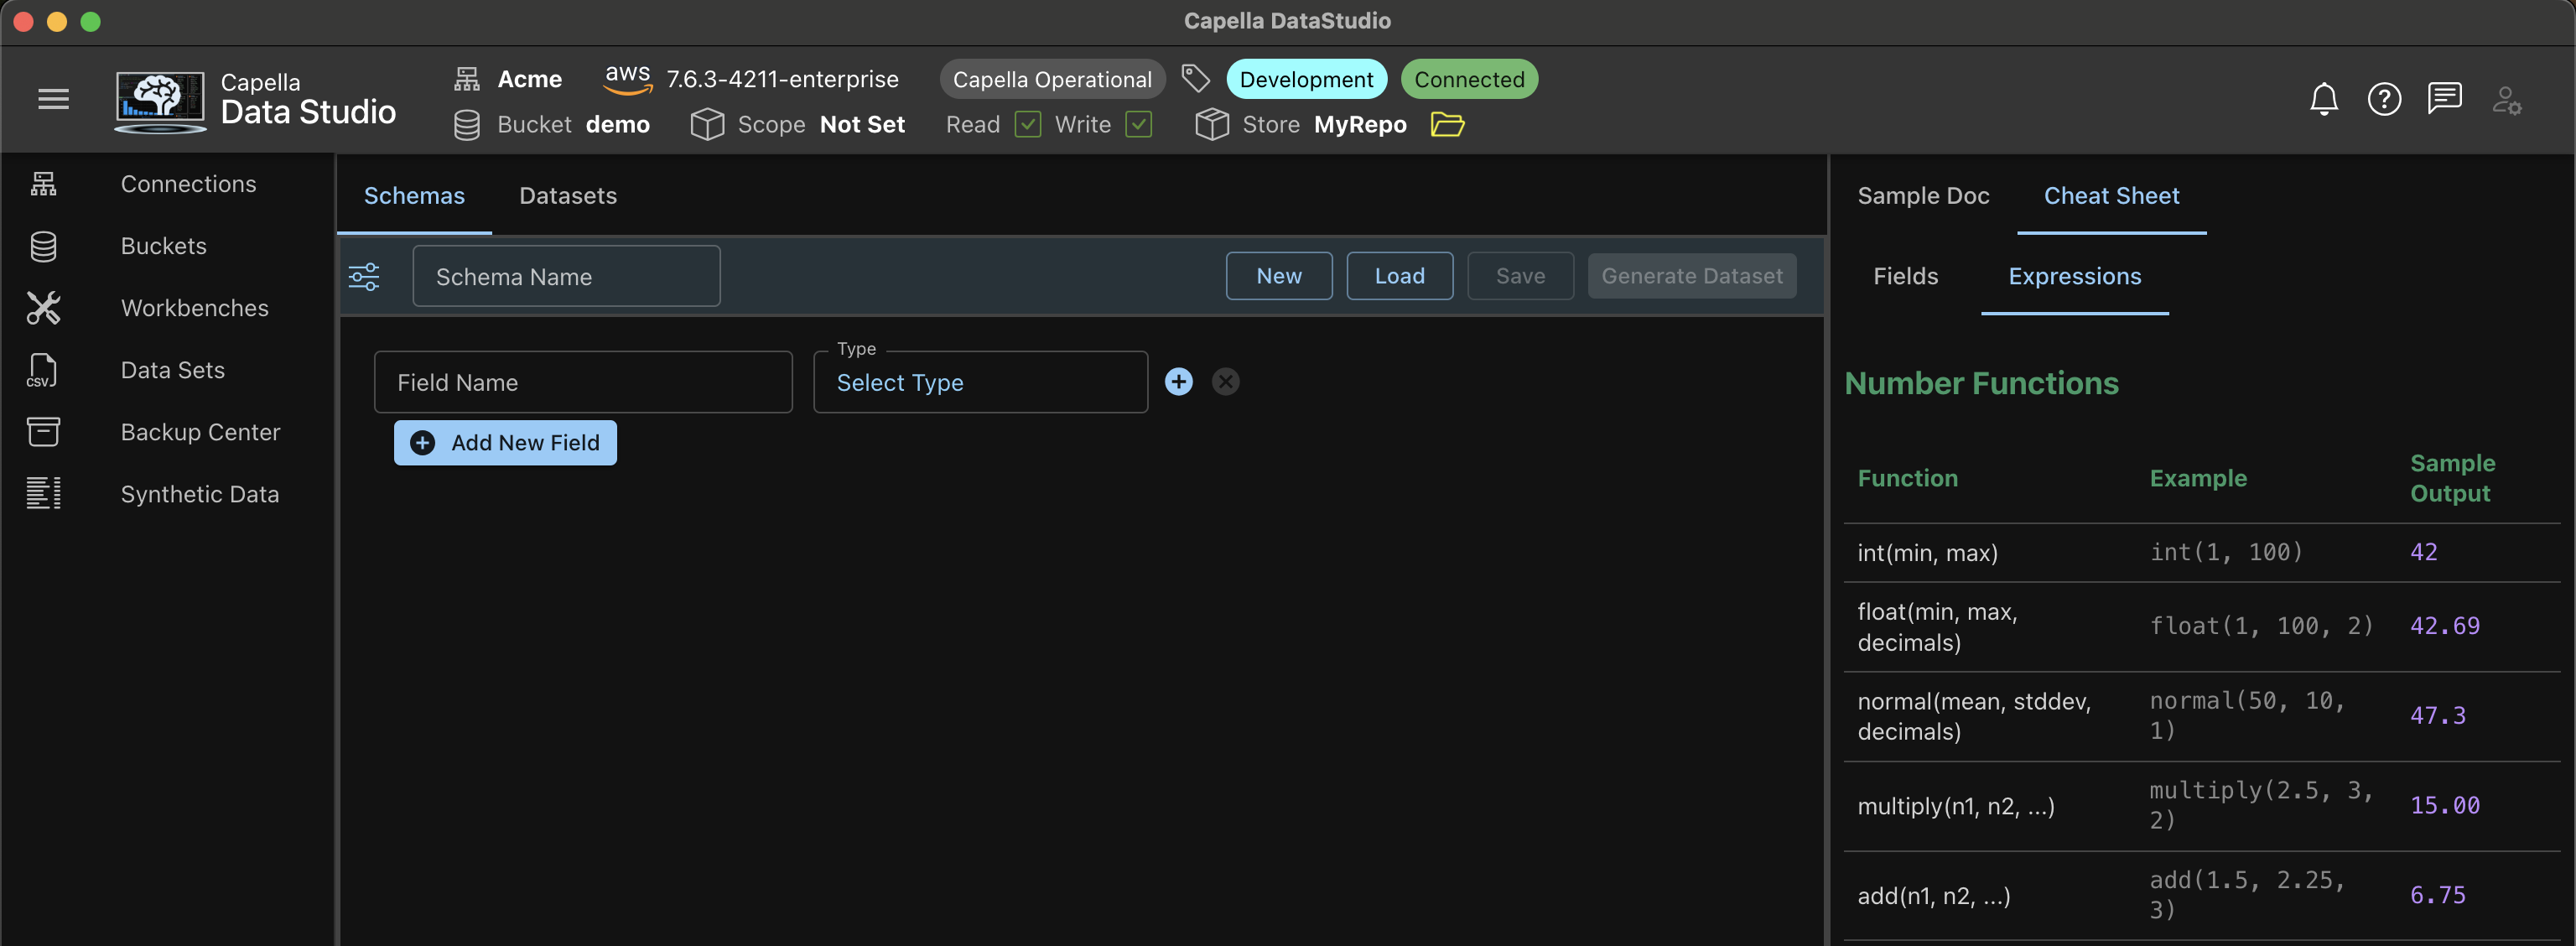
UI Overview


- AppBar: The bucket, scope and the local store have been steps
- Synthetic Data: Selected from Left NavBar
- Schemas Tab: Shows a full example schema.
- Schema Name: Allows you to save the schema (in localStore/SyntheticData/Schemas)
- Schema Builder: The middle panel
- Schema Built Field by Field (row by row)
- Field Name Specified by you
- Data Type: Choose from core (built-in) or user specified (if available)
- Doc Preview: Right panel
- Use refresh icon frequently when building
- Cheat Sheet: Right panel
- Convenient Cheat Sheet for Fields and Expressions
Quick Start
These are the steps to generate and load Synthetic Data.
Step 1
Complete your Setup, as described in the previous page. After Setup you will have:
- The Data Tools Plugin to import datasets
- A Local Store to save Schemas and Datasets
Step 2
Make a connection to Capella Operational or Couchbase Server
- This is necessary for loading data
- You can defer this for later if you plan just generating schemas and datasets.
Step 3
Build your first Schema as described by the Schema Builder page
- Play around with the different data types
- Try nested JSON and JSOn Arrays
- Try a few Expressions with Functions
Step 5
Generate you dataset as described in the Data Generator page.
- Generate your first dataset
- Preview the data generated
Step 6
Import the data as described in the Data Generator page.
- Note that you must create the scope and collections prior to this step.
Advanced
Create your own Typeset as described in the User Typesets page.
- Follow Step 3 to Step 6 with your Typeset